Halloween tips for a sweet holiday. Halloween Crafts. HALLOWEEN PARADE WALL LAMP.do it your self project by Vana Chupp. This craft for Halloween party ,, Halloween party ideas ..
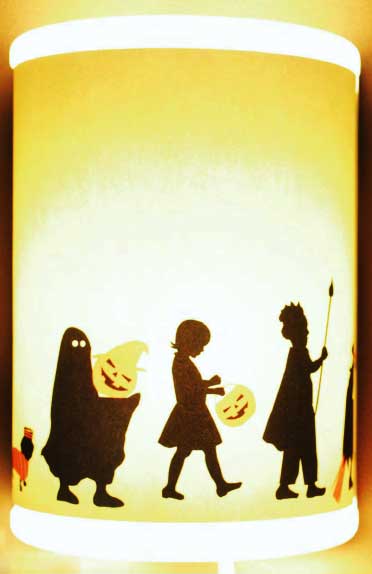
HALLOWEEN PARADE WALL LAMP
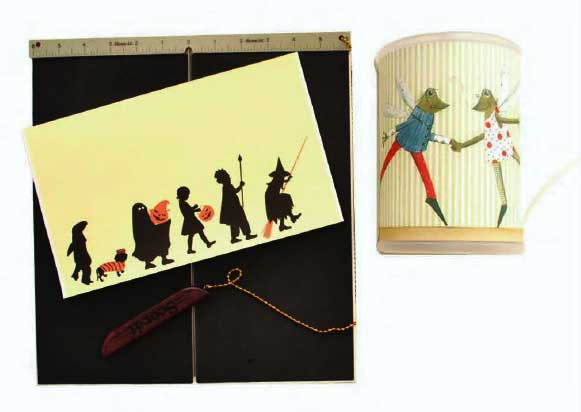
Step 1:
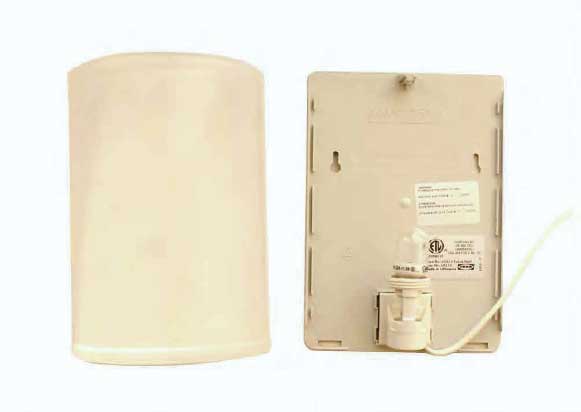
Gather your supplies. You will need the kids parading free printable, a wall lamp from IKEA, scor-it board or any other scroing tool, and a screw driver.
Step 2:
Start by removing the screw from the top of the wall lamp. This will allow the top to come off and release the decorative paper that comes with the lamp.
Step 3:
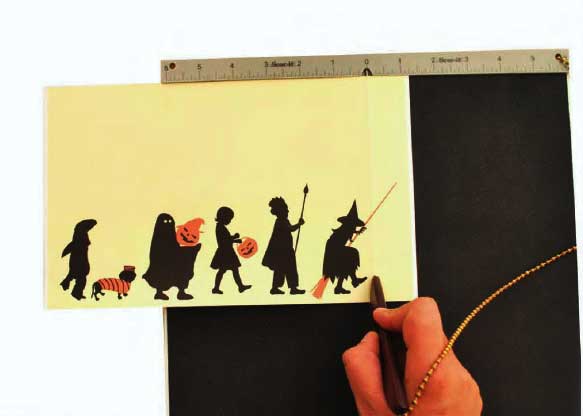
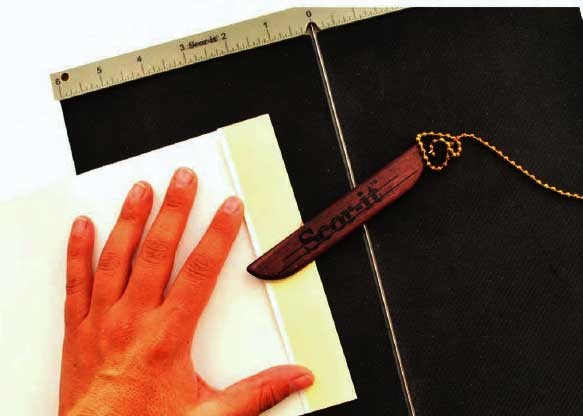
Position the kids parading print on the scor-it board and begin scroing 1/4 inch from the outer edge of the print.
Step 4:
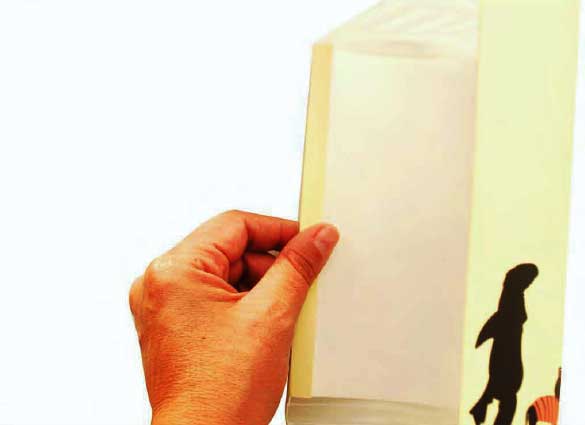
Fold the ends over the outer edges of the lamp. you can use clear tape to secure them.
Step 5:
Re-assemble the wall lamp and voila!
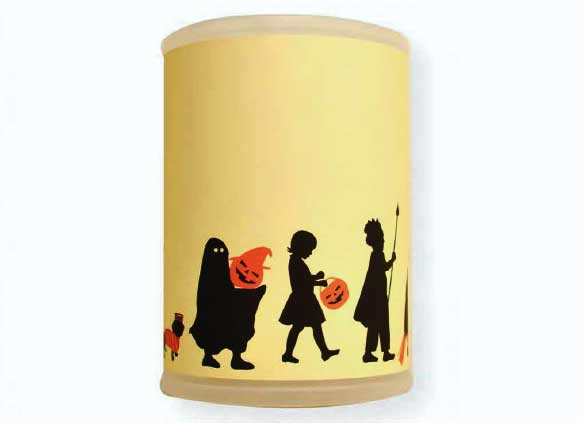
For less than $5 you created something unique for your nursery or any other room in the house. Wasn’t that easy?
